Final Fantasy Resonance Walkthrough: Chapters 1–8
Follow the main objectives across all eight chapters, with the shipyard lever answer, key-card progression, Arcane Library requirements and final battle preparation.
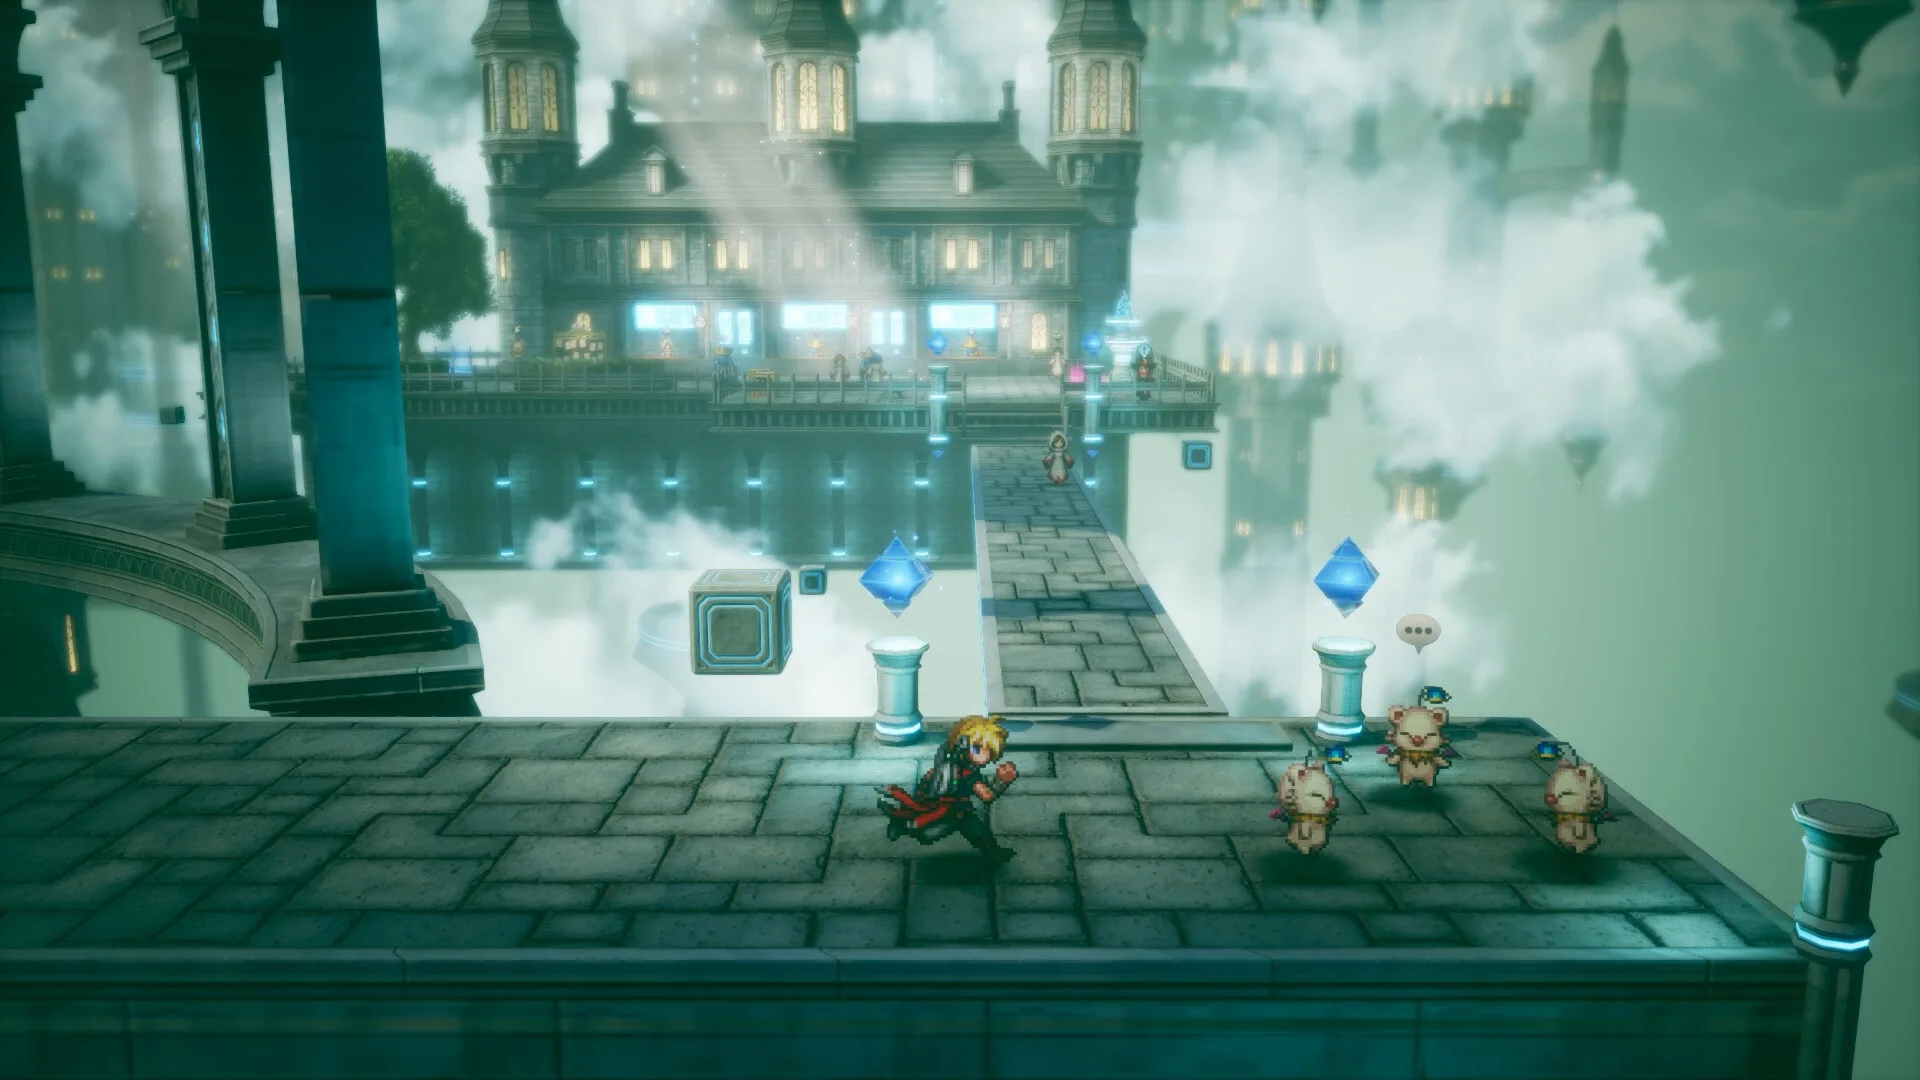
Mobliz Shipyard escape
Restore the Mobliz Shipyard elevator with lever 16, avoid extra fights during the countdown and follow the working elevator to the cargo train.
Open guideWater Shrine puzzle
Cross Water Shrine by lowering the water, aligning the movable crates, raising the water again and activating the larger platform mechanisms.
Open guideArcane Library & memory gate
Clear the five haunted books, reach the Forbidden Text Wing and resolve the later locked gate by adding Sakura’s memories at Tower of Mysidia.
Open guideResearch Center key cards
Find the Level 1, 2 and 3 Lab Key Cards, restore the teleporter, obtain the White Jade Stone and return so Fina can learn Holy.
Open guideMain-story route across chapters 1–8, including selected progression puzzles and ending-mechanic spoilers. Not a 100% chest or item-by-item dungeon map.
On this page
Find your next objectiveChapter 1: Grandshelt to Siren’s TowerChapter 2: Dirnado and the shipyard escapeChapter 3: Olderion and Water ShrineChapter 4: Zoldaad, the factory and castleChapter 5: Mysidia, the library and the locked memory gateChapter 6: the White Jade Stone and HolyChapter 7: Pharm and Wandering LandsChapter 8: Crystal Tower and the final mechanicSources & reviewFind your next objective
Use the chapter headings to jump to your current region. This route follows the main objectives through the ending. Optional collection and recruitment tasks are linked where they become relevant; they do not have to be confused with the next required story destination.
Keep a manual save before a major departure or final-entry warning. When a mechanism appears inactive, compare the current objective and prerequisite with the steps below before assuming it needs a hidden item.
Chapter 1: Grandshelt to Siren’s Tower
- Leave Grandshelt and investigate Earth Shrine. Before entering, resolve Rain’s stat choice. Progress to the crystal encounter and continue to Mitra afterward.
- At Mitra, inspect Rain’s former blue-roofed home and its interior passage. Complete the sequence that gives Tronn and Leah, then inspect Equipment & Abilities.
- Return to the attacked castle. Continue through the rescue sequence; the story confrontation in the throne room is not an ordinary optional boss to outlevel.
- Continue until Fina joins. At Kol, complete the required conversations, rest and collect the chocobo to cross the desert toward Felicitas.
- Investigate the missing villagers in Kolobos Ruins, complete the rescue and continue to Grandport.
- Speak to the sailor, climb Siren’s Tower and prepare Lightning and Charm protection for Siren. After victory and Fina’s conversation, return to the ship to leave the region.
Progress check: Siren has joined as an Esper, and the Grandport departure objective is available. A completed tower is not proof that every optional shard was collected.
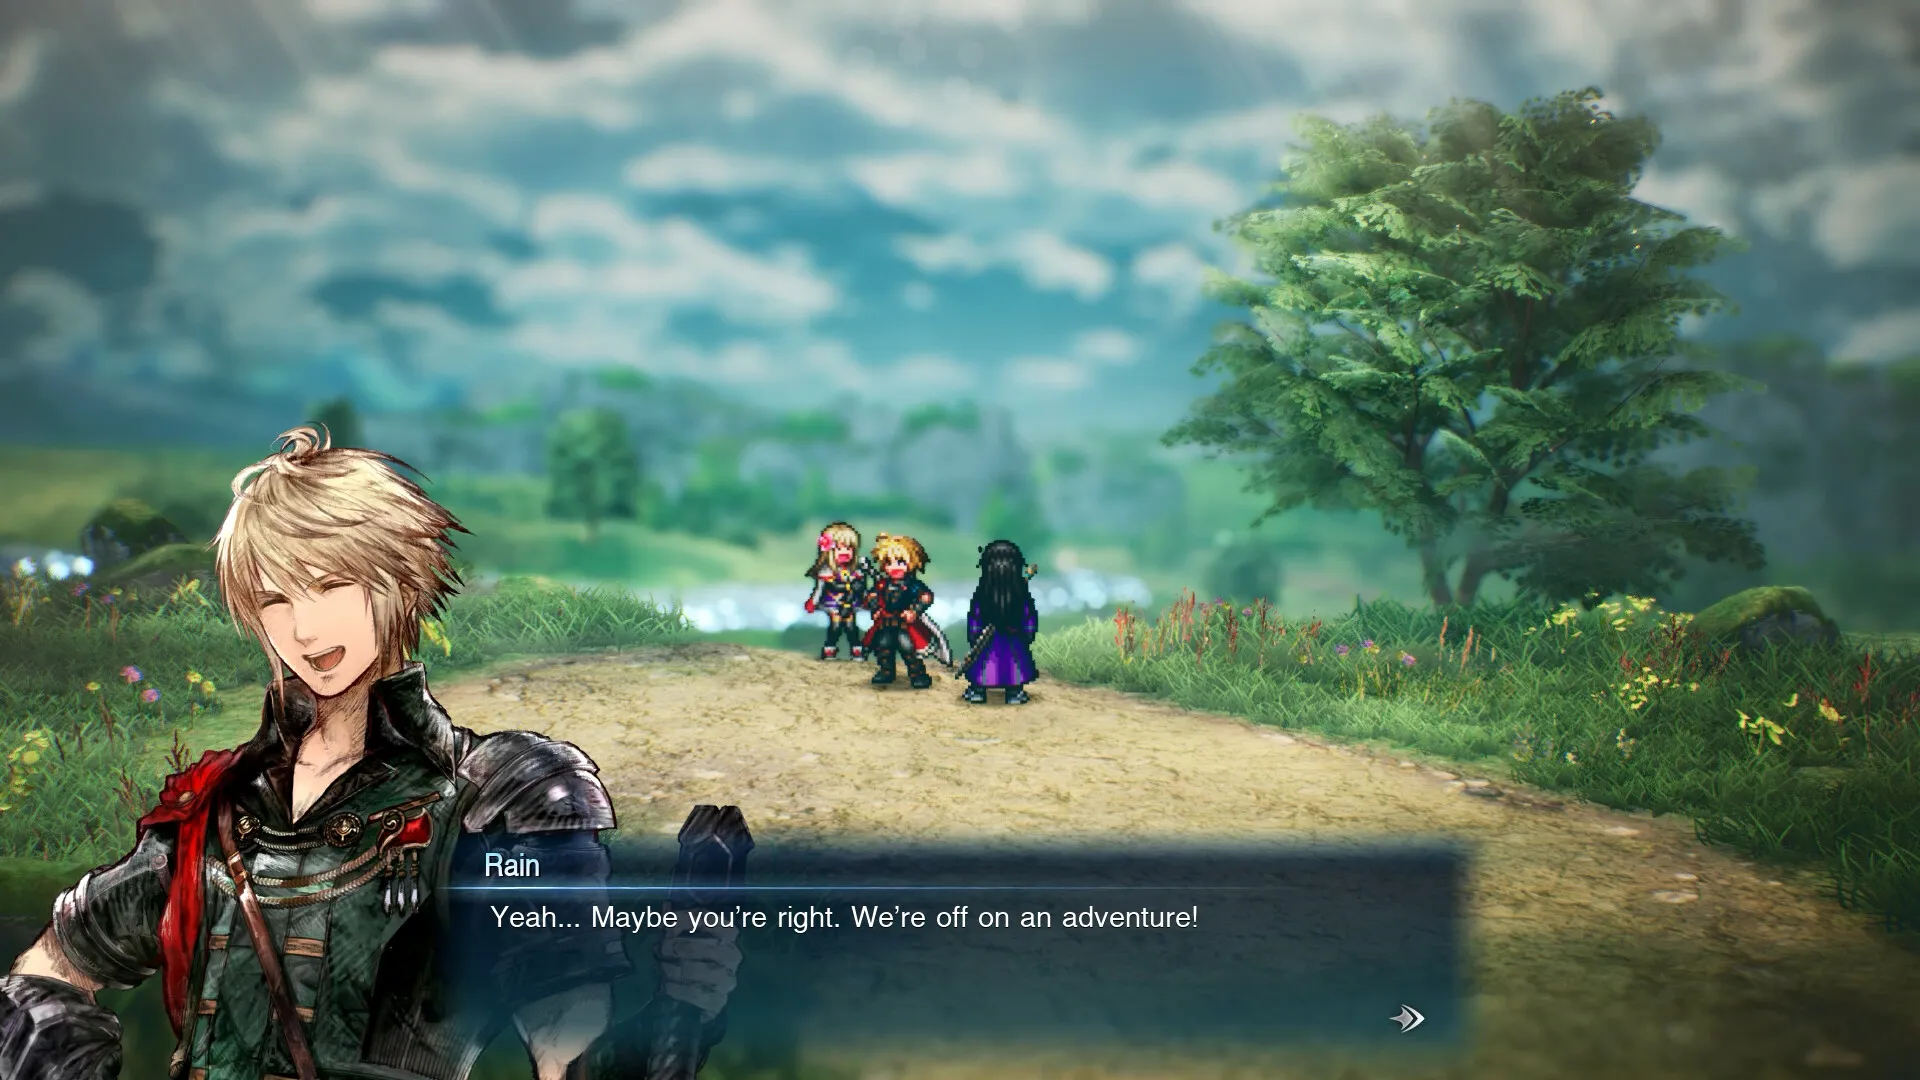
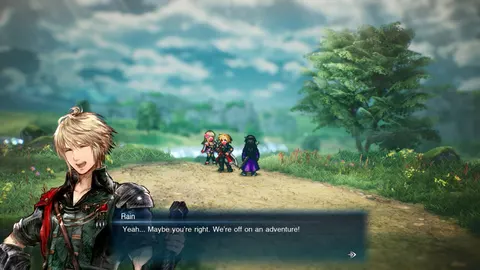
The official English dialogue presentation. Screenshot: Square Enix.
Chapter 2: Dirnado and the shipyard escape
- Travel west from the landing point to Dilmagia and find Lid at the shipyard. Follow the overland route through Mt. Thunderclap toward Dwarven Forge.
- Complete the forge’s story encounters, then continue to Mobliz Shipyard. Use its switches to restore elevator access and reach the inner story sequence.
- During the escape, follow Lid’s route to the control area. The painted numbers are 5, 8 and 3: their sum identifies lever 16. Pull that lever to restore power. The shipyard escape guide shows the exit sequence after the blockade.
- Continue by the working elevator to the cargo-train route. In the pursuit battle, pay attention to the charging attack and build a timely Stagger opening.
- Return through the forge objectives to Wind Shrine. Complete the shrine and return to Dilmagia for the chapter transition.
Optional detour: Ramuh uses Mt. Thunderclap’s upper entrance. Follow the Esper route rather than expecting the normal story crossing to recruit him automatically.
Chapter 3: Olderion and Water Shrine
- After arriving in Olderion, head toward the Aquapolis and gather the marked information. Find Nichol and proceed to Cave of Waters to advance the Luka objective.
- Use the dungeon’s switches and boats to continue the rescue route. Return to the city when the objective changes, then follow the water-corruption events through Old Town and Lake Dorr.
- After the flooding sequence, take the Waterfall Way and Altar route toward Water Shrine. In the shrine, inspect water controls as part of the boat route: a changed water level can alter which platform is reachable.
- Complete the shrine confrontation, return to Olderion and continue to the port departure. The following Nichol stat conversation has one disputed published HP value; the guide identifies it explicitly.
Water Shrine: why can’t you cross the crates?
Lower the water with the nearby glowing control, arrange the movable crates into a continuous crossing, then return to the same control and raise the water again. Cross only after the water is restored. If the boxes are aligned but the crossing still fails, check the water state before moving them all again. The Water Shrine mechanism guide separates basin controls from the large platform controls.
Progress check: follow the port objective after the city scenes. The mandatory Leviathan encounter does not recruit his Esper; that comes later from Nichol’s Duty.
Chapter 4: Zoldaad, the factory and castle
- Board the train at Mozul Station, complete the escape and investigate Zoldaad’s marked city locations. Follow Jake through the tunnels to the Rebel Hideout.
- Take the Weapons Factory objective. Progress through its controls and story encounters, then return to the hideout for the castle route. Do not treat a scripted early confrontation as the final winnable fight.
- After the dungeon capture, accept Amelia’s help and defeat the guard with the prison key. Use it to rescue Prince Shera.
- At the separate throne-room lock, visit the Captain’s Quarters with Shera. His conversation obtains the second key; the prison key does not open this door.
- Continue through the emperor, roof and Invincible sequences. Board the repaired Enterprise when the story directs you to pursue Lazarov.
Progress check: the airship becomes the next transport tool. This opens Legendary Arms, later sanctums and optional encounters; it does not require doing them all immediately.
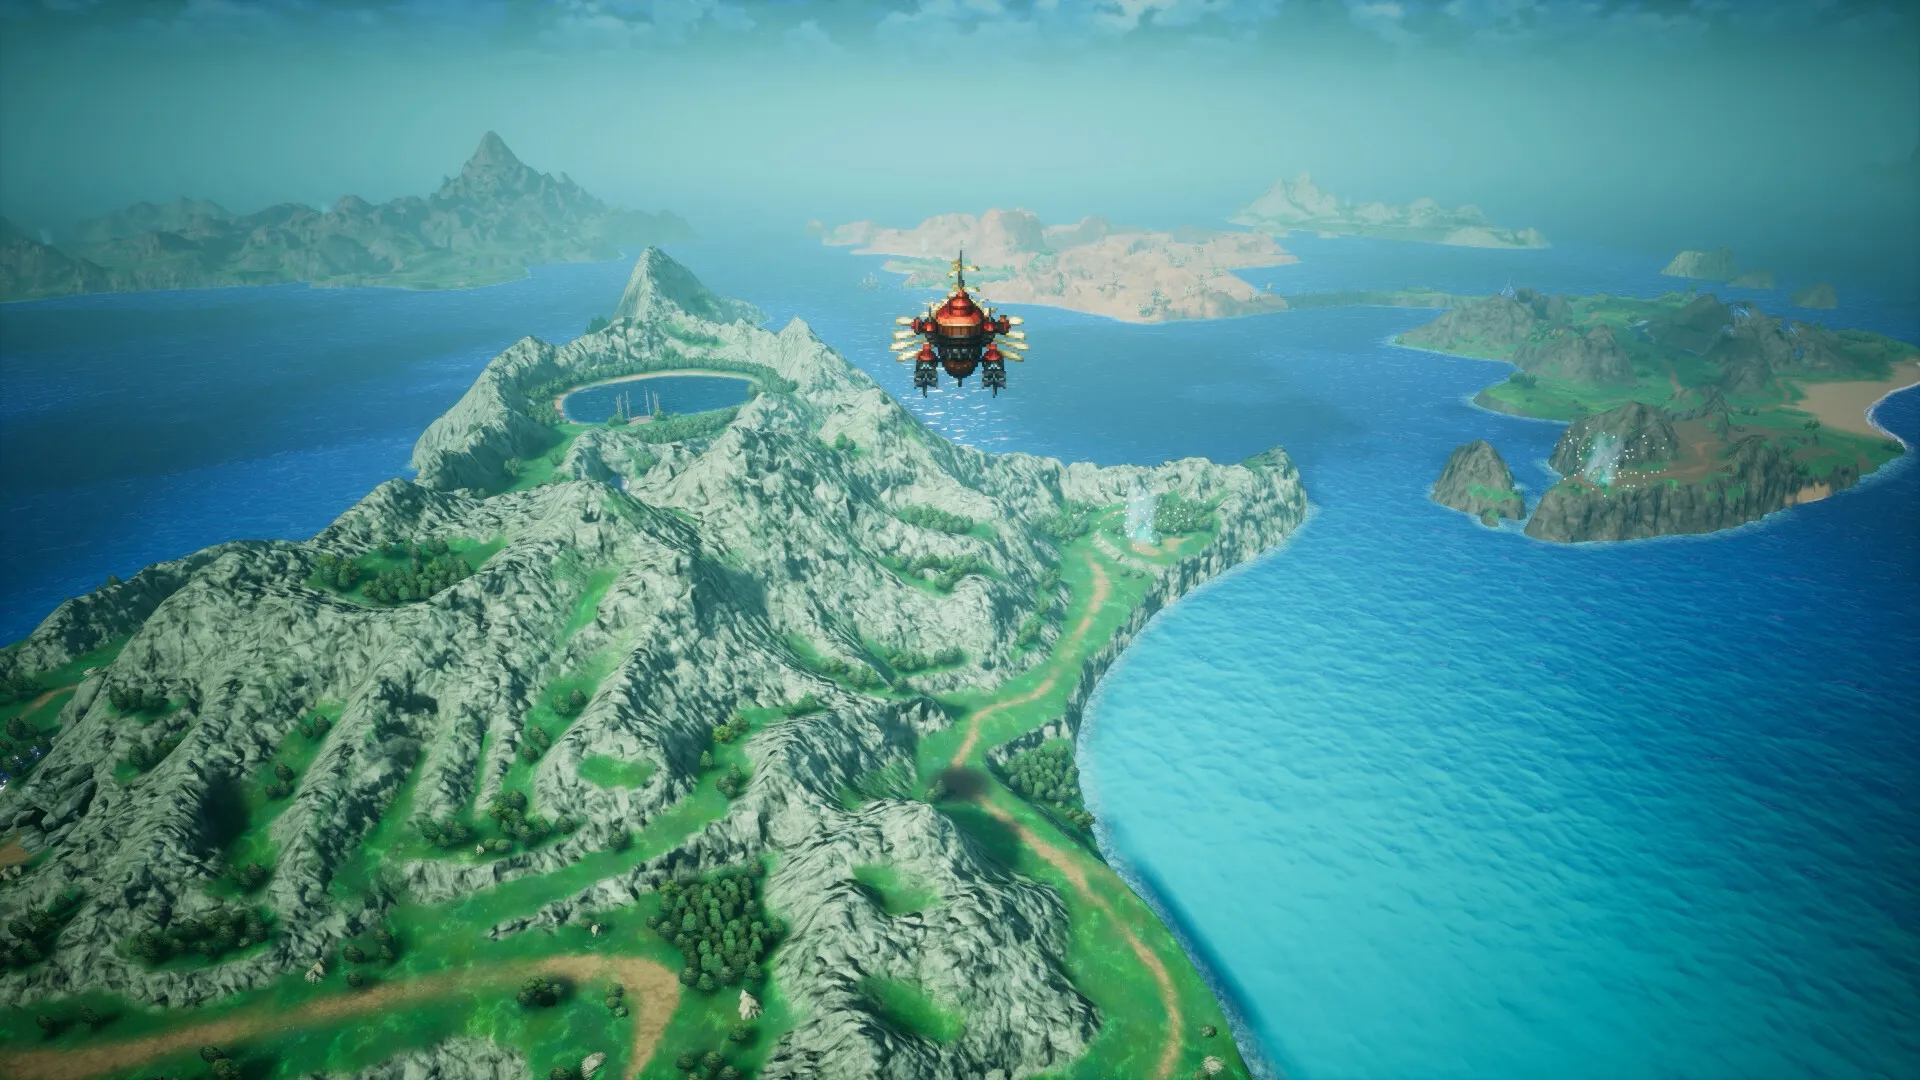
World-map travel in an official promotional screenshot.
Chapter 5: Mysidia, the library and the locked memory gate
- Use the Enterprise to locate Mysidia in the southern ocean. Follow the Sunioo supplies objective and complete the two Nameless Ruins guardian encounters.
- In Arcane Library, clear all five haunted-book encounters. Examine a book and choose to open it to begin its fight; reading its description alone does not advance the completion counter.
- When the counter reaches zero, use the restored teleporter to the Forbidden Text Wing and obtain the required tome there.
- Follow the first visit to Fina’s psyche. If the large gate still has a seal, stop searching for a hidden switch in that same visit.
- Go to Tower of Mysidia and complete the summit events, then enter the psyche again with the added memories. Complete the newly available route and return for the chapter’s closing scenes.
Progress check: the library’s five books and the required inner-world tome are separate steps. The first psyche visit deliberately does not unlock every route. Use the library and memory-gate guide for the five-book checklist and second-visit condition.
Chapter 6: the White Jade Stone and Holy
- Speak to the elder in the Gronoa undertown, then visit Research Center Ruins for the White Jade Stone.
- Obtain security clearance in sequence: Level 1 card → laboratory controls and teleporter → Level 2 card → Level 3 card. Use the new clearance to reach the stone. The Research Center card guide explains when to return to the central hall.
- Return to the elder and complete Fina’s training. Holy is the story condition for clearing the miasma; do not search shops for an unrelated Holy item.
- Return to the blocked bog, clear the route and continue through the mountain path toward the Gronoa shrine objectives.
- Proceed to Sanctissimus Shrine and complete its sequence of combat trials and the Rain/Lasswell story events, then the concluding Gelidus encounter.
Sanctissimus: respond to the trial, not just its level
Read each stone inscription before the battle. The trials include a changing weakness, Dad Bomb’s self-destruction risk, Yakhanati’s alternating physical/magic protection, paired Gargoyles and the Dragon’s breath warning. Carry both physical and magical options; when one category stops working against Yakhanati, change category. Preserve a finishing burst for a low-health Dad Bomb rather than leaving it alive after reducing its HP.
Optional detour: once the miasma progression is cleared, the Odin quest becomes an appropriate return-trip task.
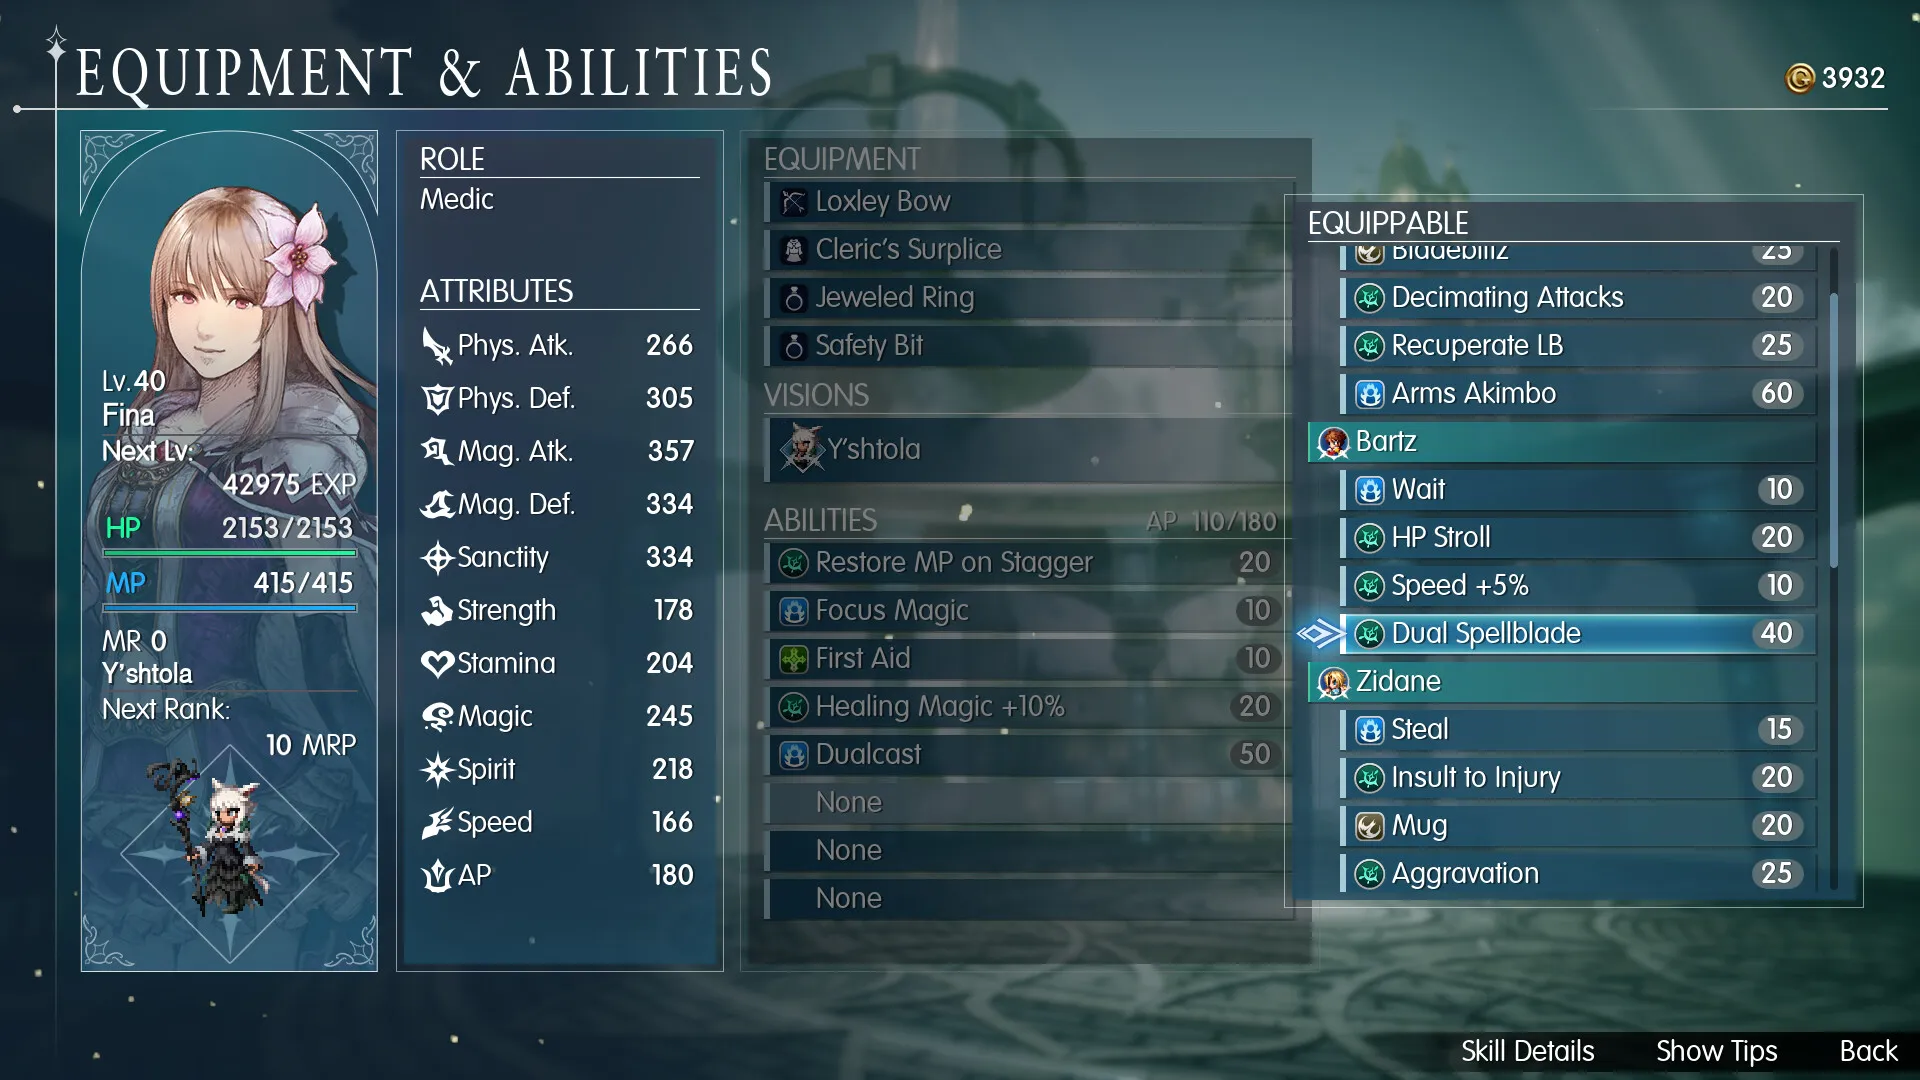
Review equipped abilities before the later encounters. Screenshot: Square Enix.
Chapter 7: Pharm and Wandering Lands
- Board the Enterprise and follow the search for the missing crystal until the Pharm lead is established. Continue to Sian and speak with Ayaka.
- Take the overland route to Mt. Reizan. The storm around Wandering Lands prevents solving this objective by repeatedly searching for an airship landing prompt.
- Follow the mountain encounters, then continue through Lake Ryusei, Forest Path and the Alcare route toward Wandering Lands.
- Complete the remaining confrontations on that route and the encounter with Umbra to advance the final-region objective.
Preparation check: review your eight characters, active recovery and reserves before the final chapter. The personal-substory table identifies optional chapter-7 tasks separately from this story route.
Chapter 8: Crystal Tower and the final mechanic
- Approach Crystal Tower’s outer wall with the Enterprise. Let Sakura’s story event resolve the barrier; there is no separate entry key to buy.
- Continue up the tower through its main encounters, including Sol and Behemoth. Treat newly opened passages and the minimap as route signals; restore resources at save points.
- Before committing to the final ascent, prepare the reserve party as well as the active four. Review recovery, equipped Visions and the character who will replace each active member.
- In the final Chaotic Darkness sequence, the first apparent victory does not end the encounter. Let the story transition introduce Last Resonance.
- Use Last Resonance when the acting character can withdraw safely: it deals its major attack and Vision Resonance, then replaces the exhausted user with a reserve character. Keep recovery available after that replacement.
- Complete the remaining tower, escape and Sol story sequence to reach the ending. The Chaotic Darkness guide explains the hand order and reserve rotation without recounting the final cutscenes.
After the credits: load the cleared save for remaining collection goals, Espers and the Ultima Weapon encounter. Story completion and full collection are different endpoints.
Sources & review
Sources checked on 26 October 2026. This is a source-based guide, not a claim of independent gameplay testing. A specific patch number has not been verified. Read our editorial policy.
- RPG Site — story walkthroughIndependent guide
- Player Atlas — chapter 1 routeIndependent guide
- Player Atlas — chapter 2 routeIndependent guide
- Player Atlas — chapter 3 routeIndependent guide
- Player Atlas — chapter 4 routeIndependent guide
- Player Atlas — chapter 5 routeIndependent guide
- Player Atlas — chapter 6 routeIndependent guide
- Player Atlas — chapter 7 routeIndependent guide
- Player Atlas — chapter 8 routeIndependent guide
Continue your journey
Choices & consequences
Compare eight party dialogue scenes by character and chapter, including reward cues, exact agreed bonuses and the unresolved Nichol HP discrepancy.
Open guide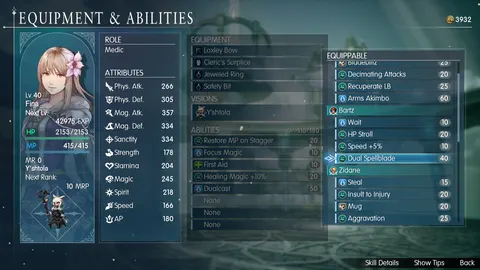
All Visions
Find all 26 Visions by chapter, region, role and unlock method. Includes sanctum directions, quest names and the Sephiroth battle requirement.
Open guide
Collectibles guide
Find all 99 Tablet Shards by region and landmark, save your checklist locally, compare all 25 palace rewards and locate the eight Adamantite sources.
Open guide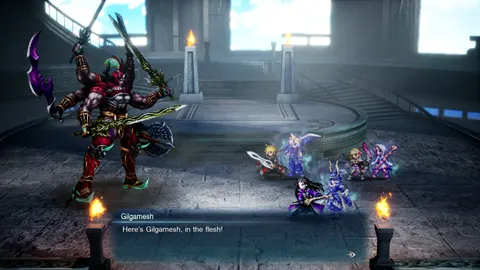
Boss guide hub
Find seven boss strategies from Siren to Chaotic Darkness, including Gilgamesh and Ultima Weapon, plus all 15 Cave Master locations.
Open guide